It’s summer (as if you don’t already know) and that means 3 things:
1. No school
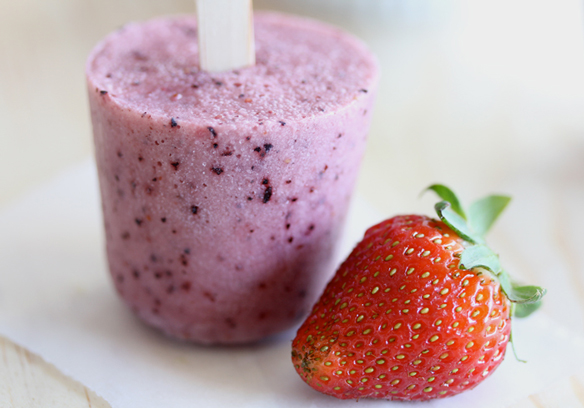
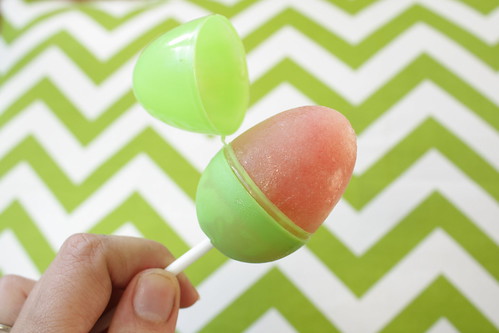
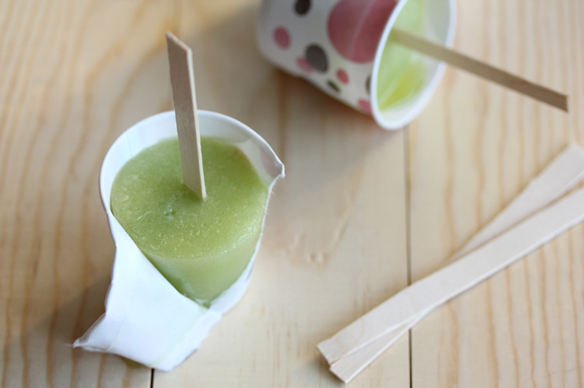
2. Popsicles
3. VACATIONS!
Most of us go on some kind of trip during the summer months so I figured a few words of wisdom on how to best travel with kids could be helpful.
Airline Travel:
•Have the kids carry their own bag. Have each child carry their own back pack with goodies, activities, and markers for the plane. That way it is easily accessible to them and they can fill it with whatever they decide they might want to do on the plane ride.
•Ditch the diaper bag. Use a back pack instead of a diaper bag. It’s much easier to carry around and you don’t have to worry about it sliding down your arm or knocking into people as you walk through the aisle.
•Don’t let people get to you. If things are piling up behind you in line because you have 4 children to get through security so what? It will be when you feel rushed that things get misplaced and tempers will get high.
•Bring a fold up umbrella stroller for toddlers. Kids will get tired from all the walking around the airport and if they don’t end up using it then put use it to tote around your carry-on bag.
•I know most airlines let people with children board first but DON’T DO IT! Unless you don’t have assigned seating (in which case get on first) then wait as long as possible to get on the plane. It takes at least 20-30 mins to board everyone on a plane and that is just that much longer your kids will be stuck in an uncomfortable confined area.
•Planes can be freezing sometimes so make sure to bring a sweatshirt for each child and don’t wear sandals.
•Bring a sippy cup or pacifier for takeoff and landing. The sucking action will help save their ears from hurting with the pressure change.
•Bring your own snacks and an empty sippy cup that the airline can fill up for you. You know they will get hungry and the tiny peanut bag will probably not cut it.
•Make sure to have your toiletries, a first aid kit, and an extra set of clothes for each child in your carry-on. If you don’t you will regret it when your 5 year old spills chocolate milk on his pants and has to sit in it the whole plane ride.
•Be sure to explain your safety procedure of what the kids are supposed to do in case you get split up.
Road Trip:
•Make a trip to the library beforehand and have each kid pick out a couple of books especially for the trip.
•Have premade and prepared snacks ready to go. Put them in individual zip lock bags so you can just grab one for each kid and they won’t fight over sharing one bag.
•Wipes, wipes and more wipes! You can never have too many for car travel. They are great for cleaning sticky hands and wiping up spilled orange juice.
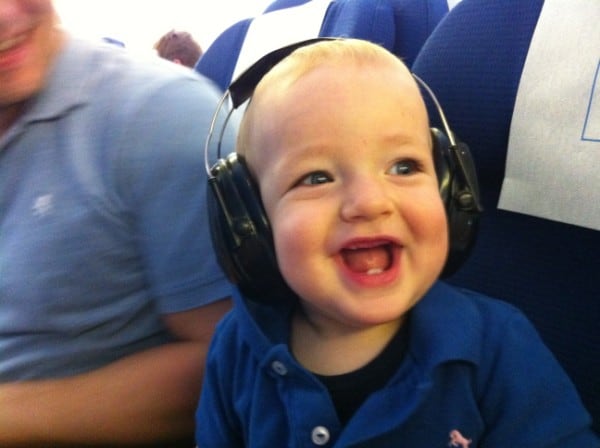
•If taking handhelds (DS, ipad, ipod, cd player, etc) then make sure they are fully charged and have head phones for each child so they aren’t bothering their neighboring siblings.
•Frequent stops. Little legs need to move! Take advantage of rest stops and parks that you find along the way to let them run around and get out some energy.
•For arguments have one parent (not the driver) deal with involved kids. If you can’t do this then pull over and deal with the situation. Don’t lose your cool.
•Use the car windows as a drawing board. Give the kids a dry erase marker and letting them draw pictures or play tic-tac-toe. It’s easy to clean up with a baby wipe.
•Prepare small surprises for along the way. Let them know that they get a small surprise if they behave until the next stop.
•Car games (liscense game, I spy, twenty questions, etc). Brush up on some car games and have fun bonding as a family. Isn’t that what a family trip is supposed to be about?
Sources:
All Ears
Moms Mini Van
Four Seasons


